Spring Boot Admin 应用监控 1. 简介 Spring Boot Admin 可以帮助我们非常方便得查看应用的:
健康信息
内存指标
日志信息
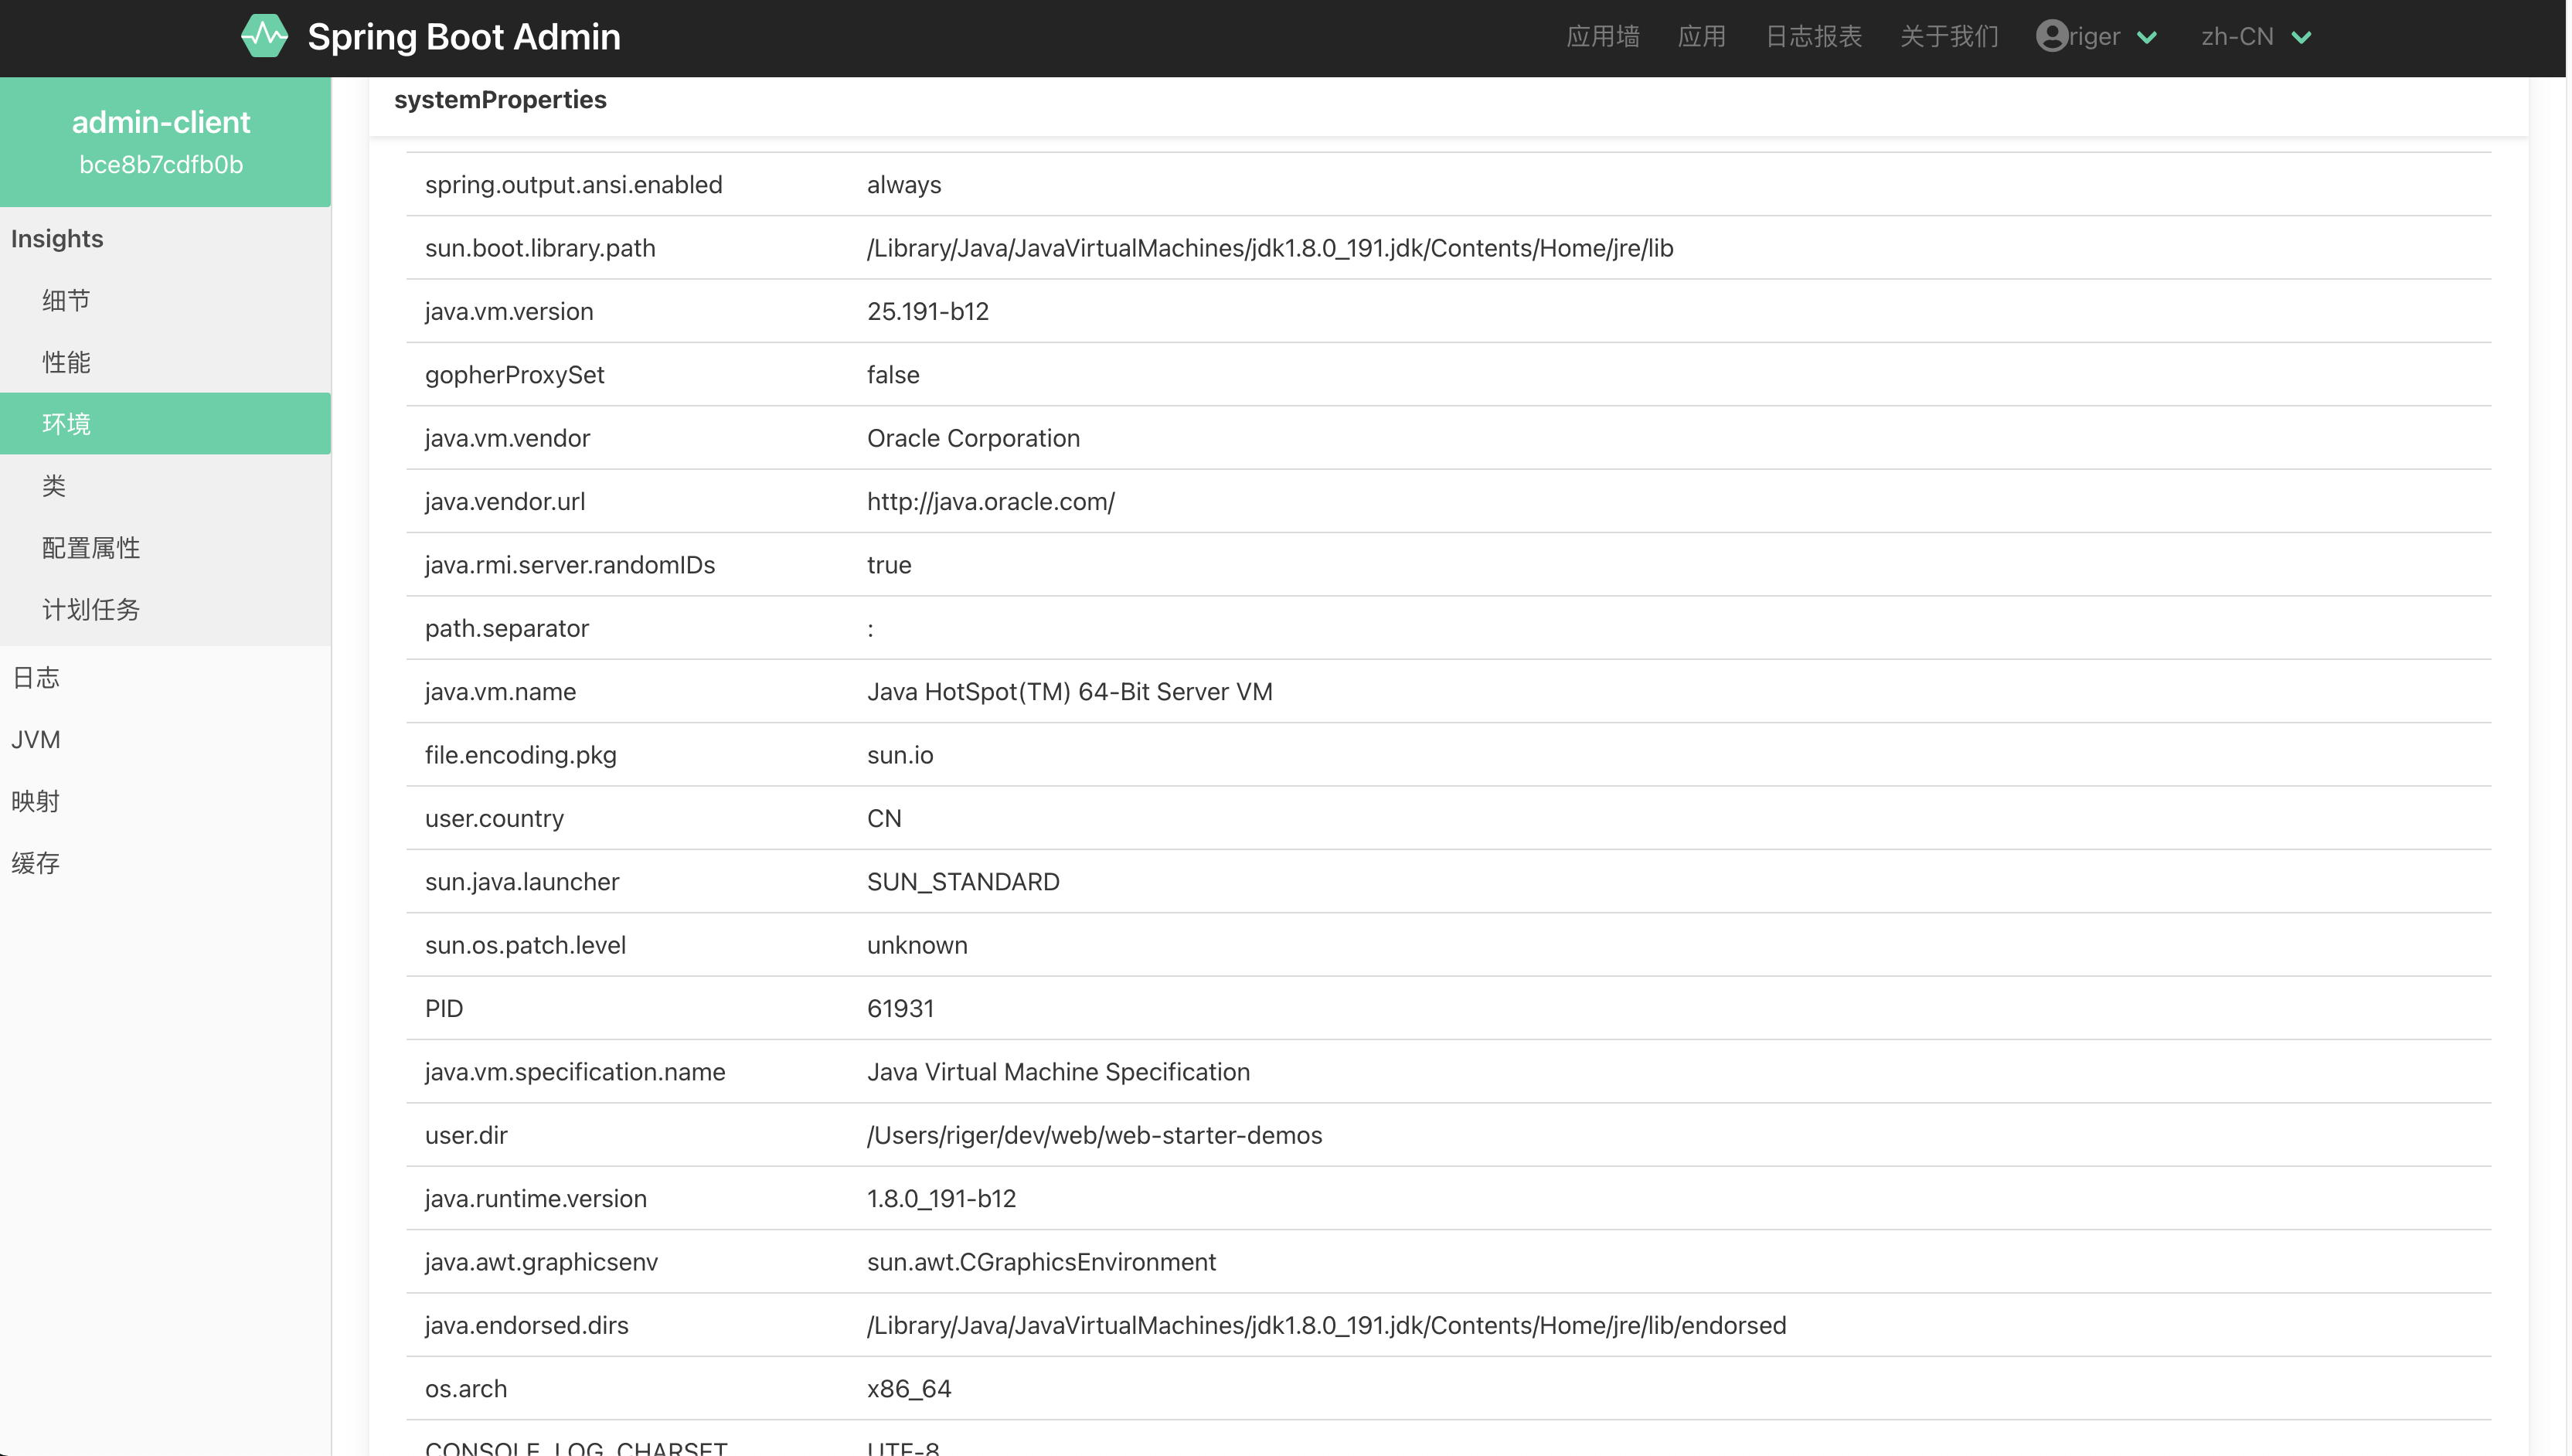
JVM 系统变量和环境变量
线程和堆栈信息
等等
还能进行状态通知用于告警,集成非常简单,简单又好用。
2. 集成 Admin 需要单独部署一个微服务,作为 Server 端,并提供 UI 的后台服务,然后我们的应用接入Server即可。
Server 新建一个 admin-server, pom 引入 amdin 依赖,最新版本在这里 查:
<dependency > <groupId > de.codecentric</groupId > <artifactId > spring-boot-admin-starter-server</artifactId > <version > ${spring.boot.admin.version}</version > </dependency > <dependency > <groupId > org.springframework.boot</groupId > <artifactId > spring-boot-starter-security</artifactId > </dependency >
yml 配置:
server: port: 8000 spring: security: user: name: riger password: riger
Security 配置,主要是为了增加密码登录:
1 2 3 4 5 6 7 8 9 10 11 12 13 14 15 16 17 18 19 20 21 22 23 24 25 26 27 28 29 30 31 32 33 34 35 36 37 38 39 40 41 42 43 44 45 46 47 package com.rigerwu.web.admin.server.config;import de.codecentric.boot.admin.server.config.AdminServerProperties;import org.springframework.context.annotation.Configuration;import org.springframework.security.config.annotation.web.builders.HttpSecurity;import org.springframework.security.config.annotation.web.configuration.WebSecurityConfigurerAdapter;import org.springframework.security.web.authentication.SavedRequestAwareAuthenticationSuccessHandler;import org.springframework.security.web.csrf.CookieCsrfTokenRepository;@Configuration public class WebSecurityConfig extends WebSecurityConfigurerAdapter private final String adminContextPath;public WebSecurityConfig (AdminServerProperties adminServerProperties) this .adminContextPath = adminServerProperties.getContextPath();@Override protected void configure (HttpSecurity http) throws Exception new SavedRequestAwareAuthenticationSuccessHandler();"redirectTo" );"/" );"/assets/**" ).permitAll()"/login" ).permitAll()"/login" ).successHandler(successHandler).and()"/logout" ).and()"/instances" ,"/actuator/**"
最后在 Application 上开启:@EnableAdminServer
@SpringBootApplication @EnableAdminServer public class AdminServerApplication public static void main (String[] args)
启动Server,然后访问:http://localhost:8000
Client 引入依赖:
<dependency > <groupId > de.codecentric</groupId > <artifactId > spring-boot-admin-starter-client</artifactId > <version > ${spring.boot.admin.version}</version > </dependency >
配置文件,由于我们 Server 配置了账号密码,所以客户端也要配置,才能接入 Server:
1 2 3 4 5 6 7 8 9 10 11 12 13 14 15 16 17 18 19 20 21 22 23 24 25 26 27 server: port: 8080 spring: application: name: admin-client boot: admin: client: url: http://localhost:8000 username: riger password: riger instance: service-base-url: http://localhost:${server.port} management: endpoints: web: exposure: include: '*' endpoint: health: show-details: always logging: file: name: logs/client.log
再启动客户端
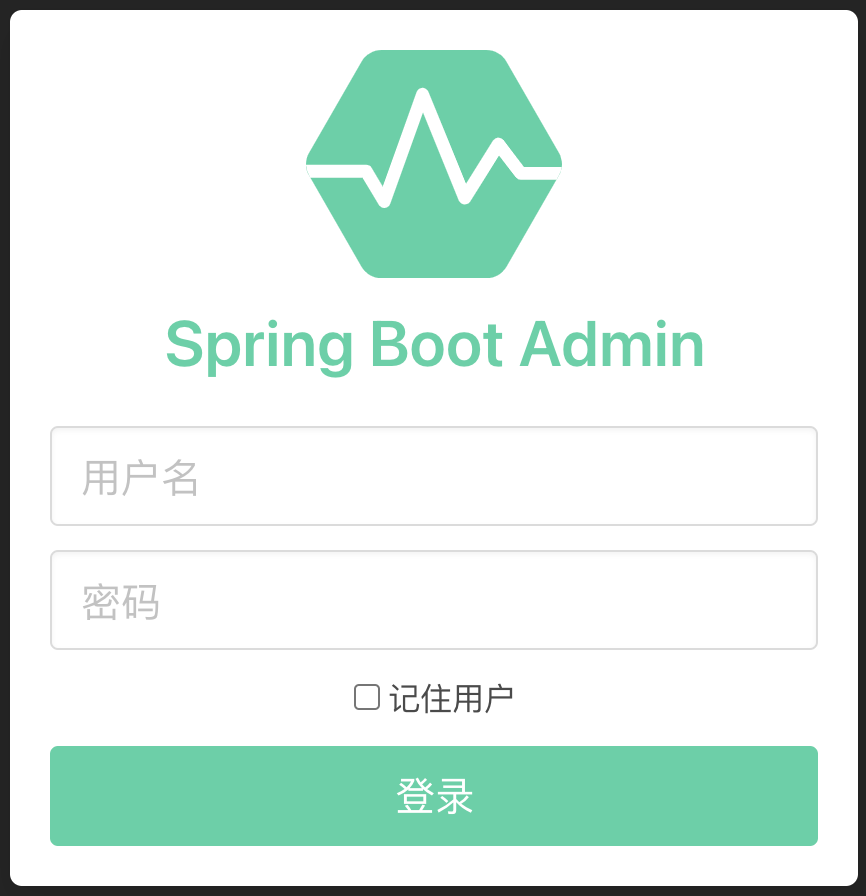
3. 使用 我们使用预设的账号密码:riger/riger 登录:
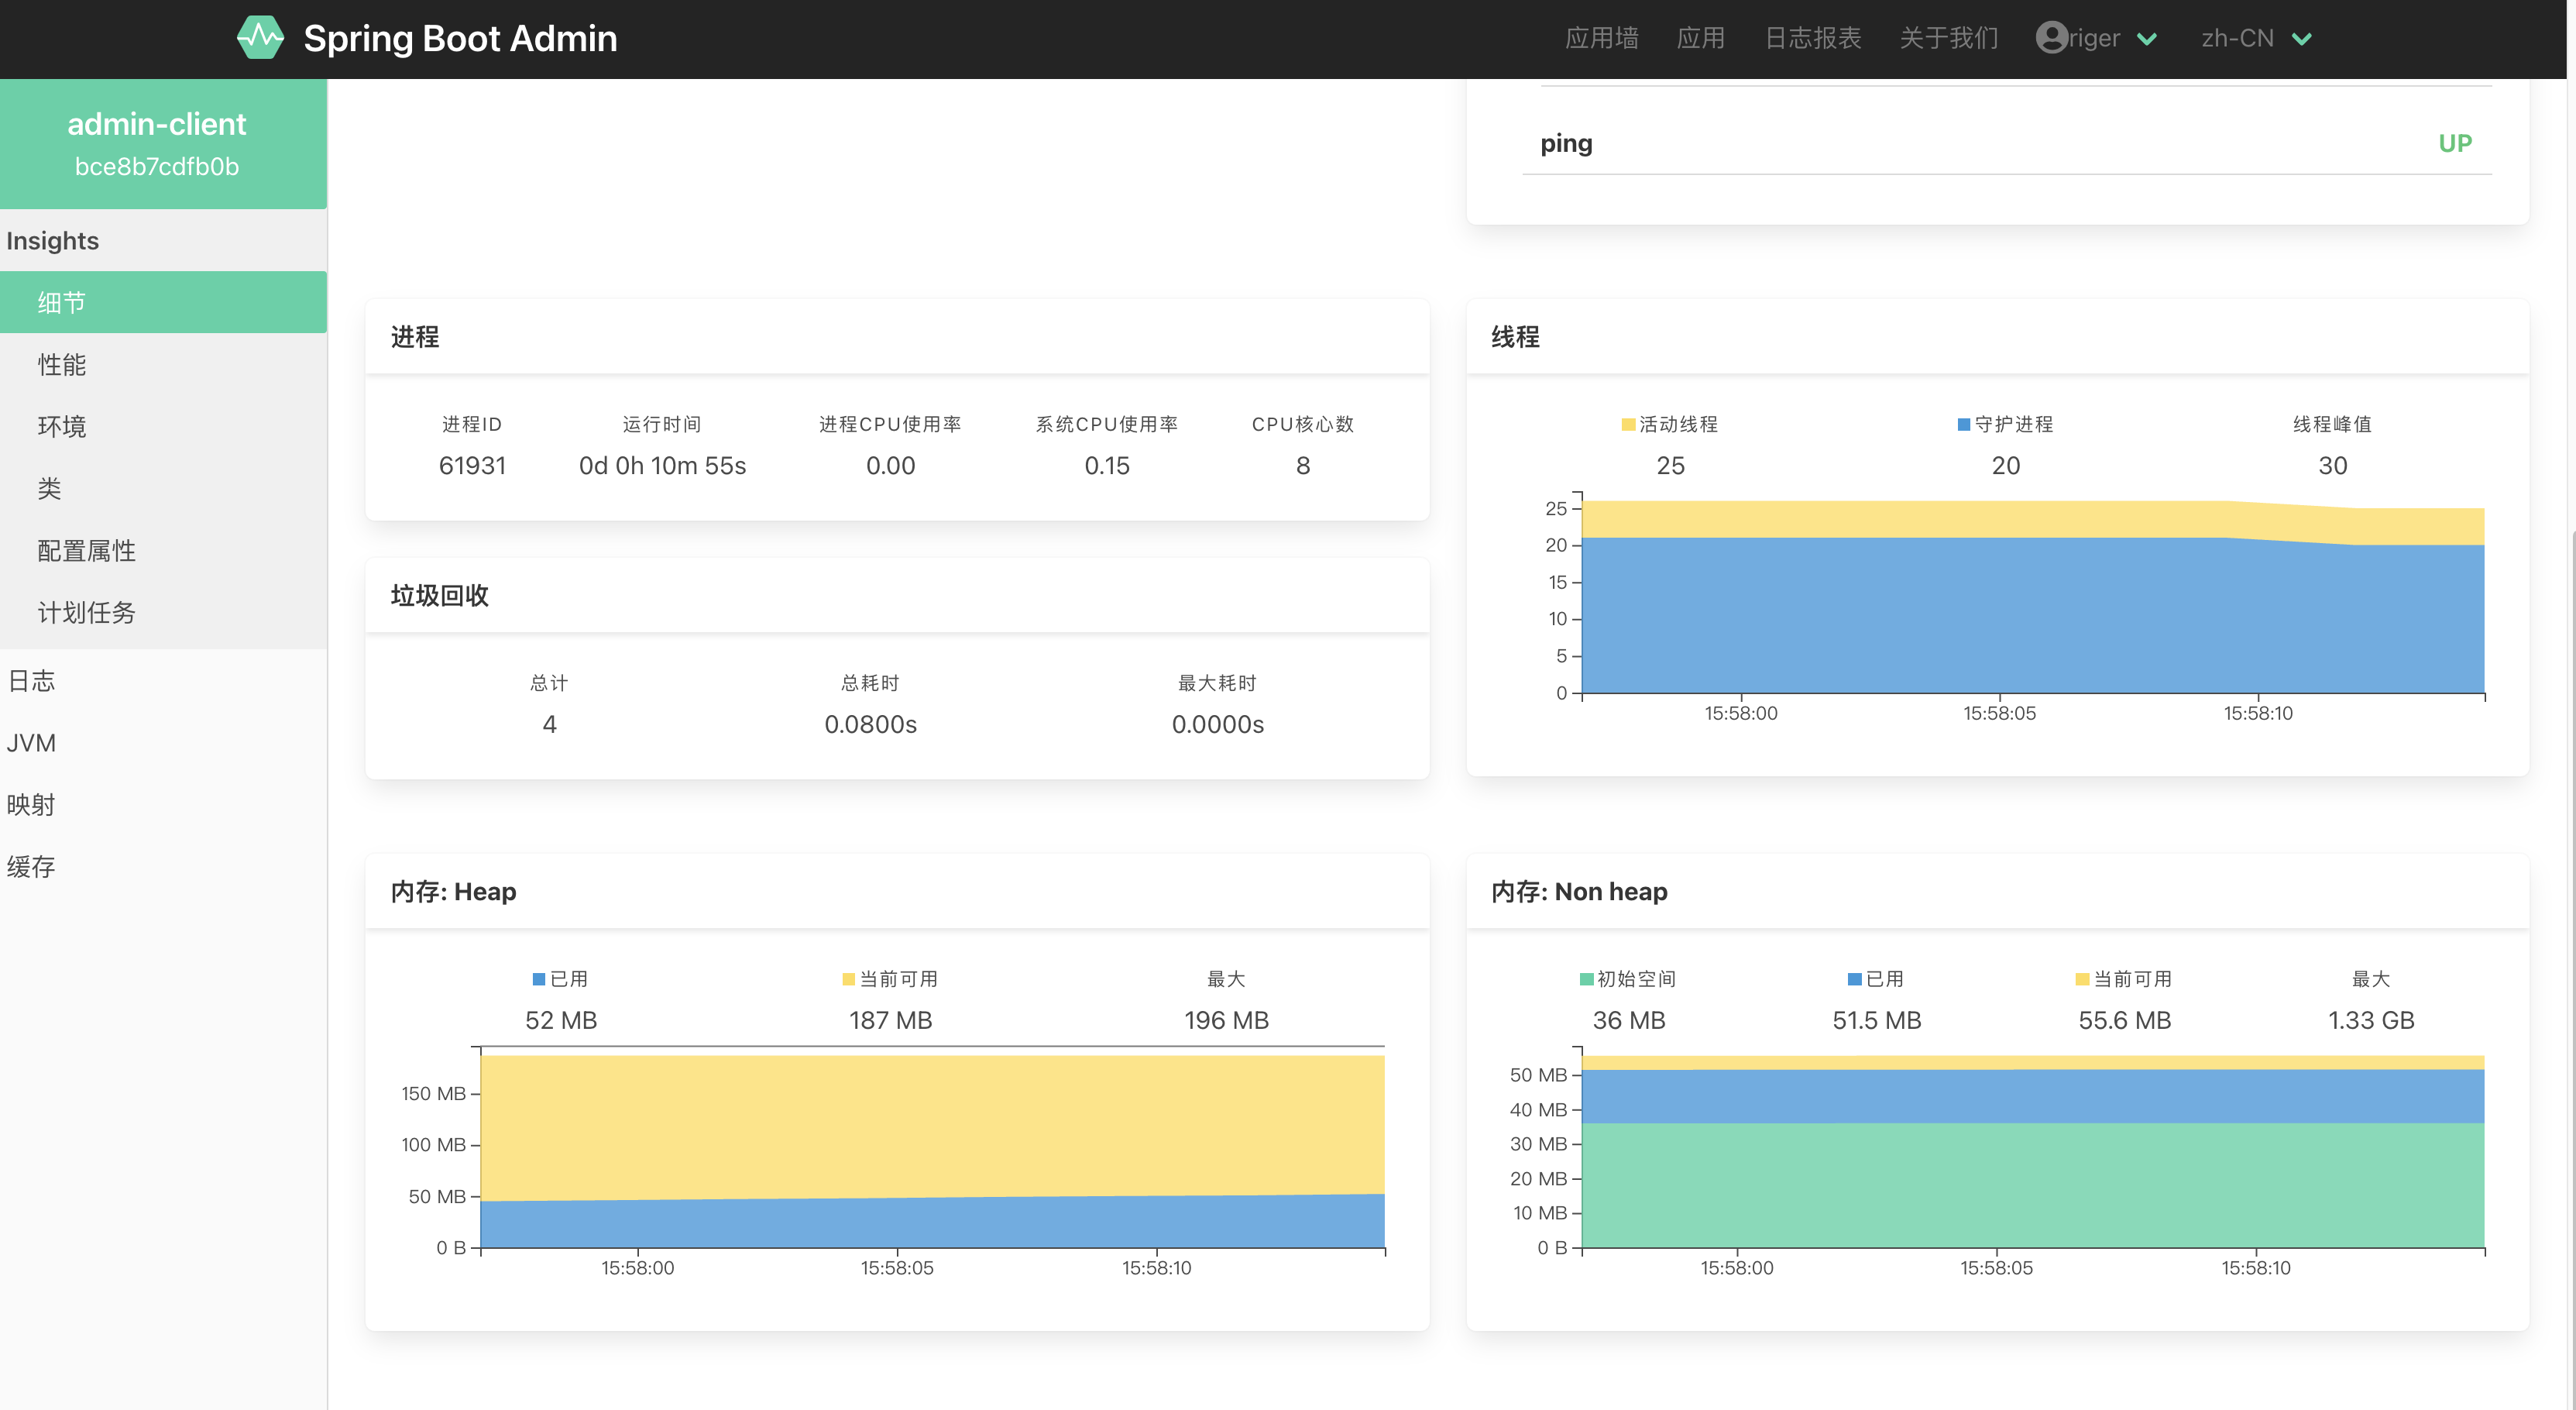
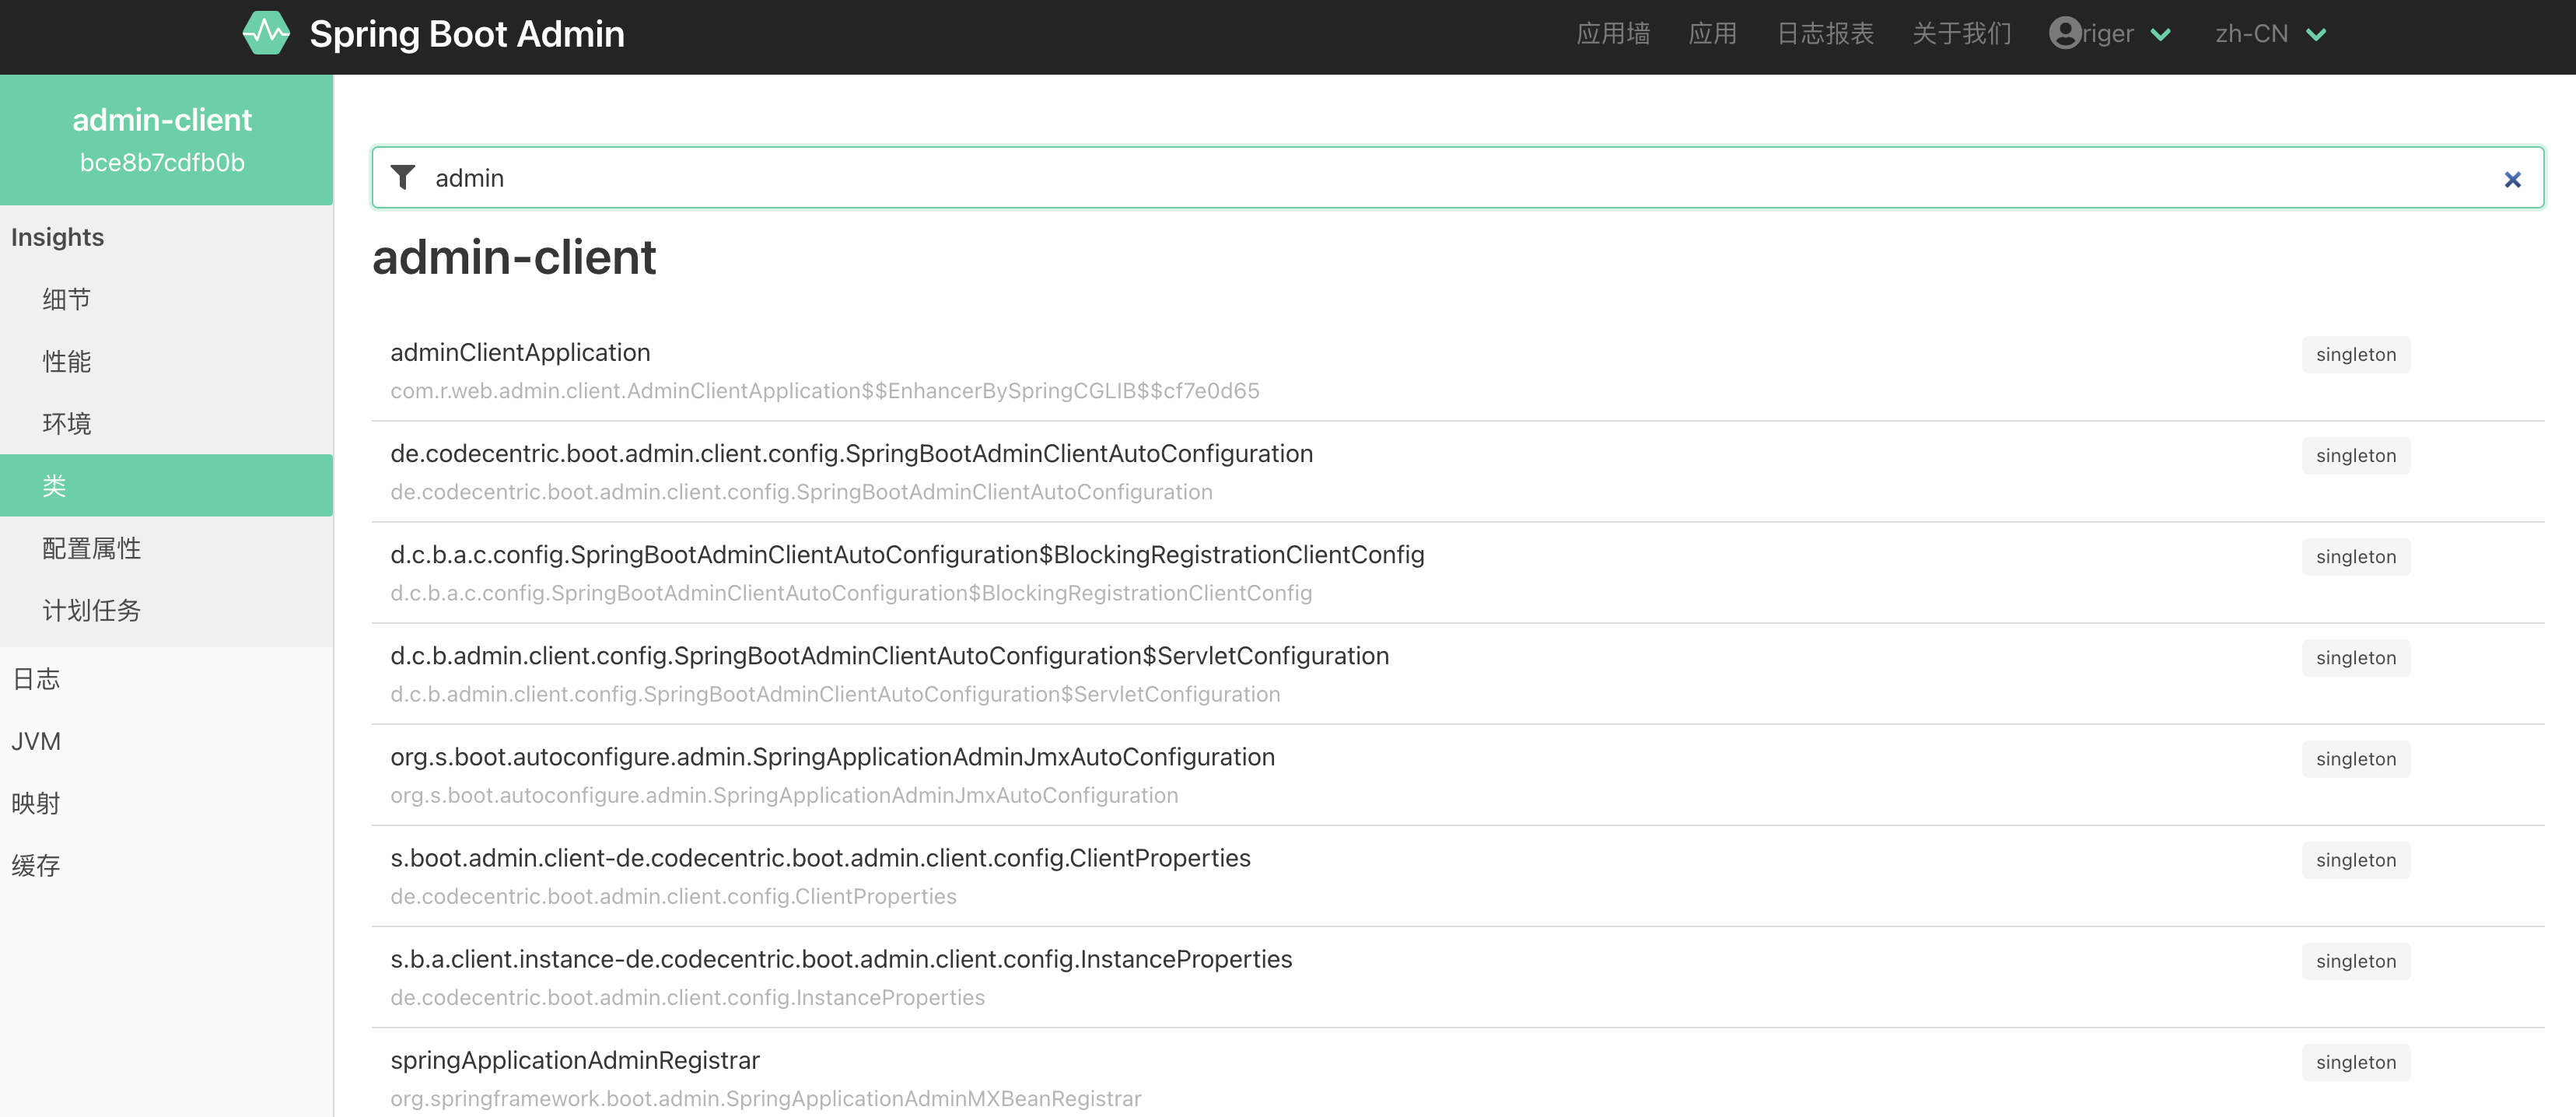
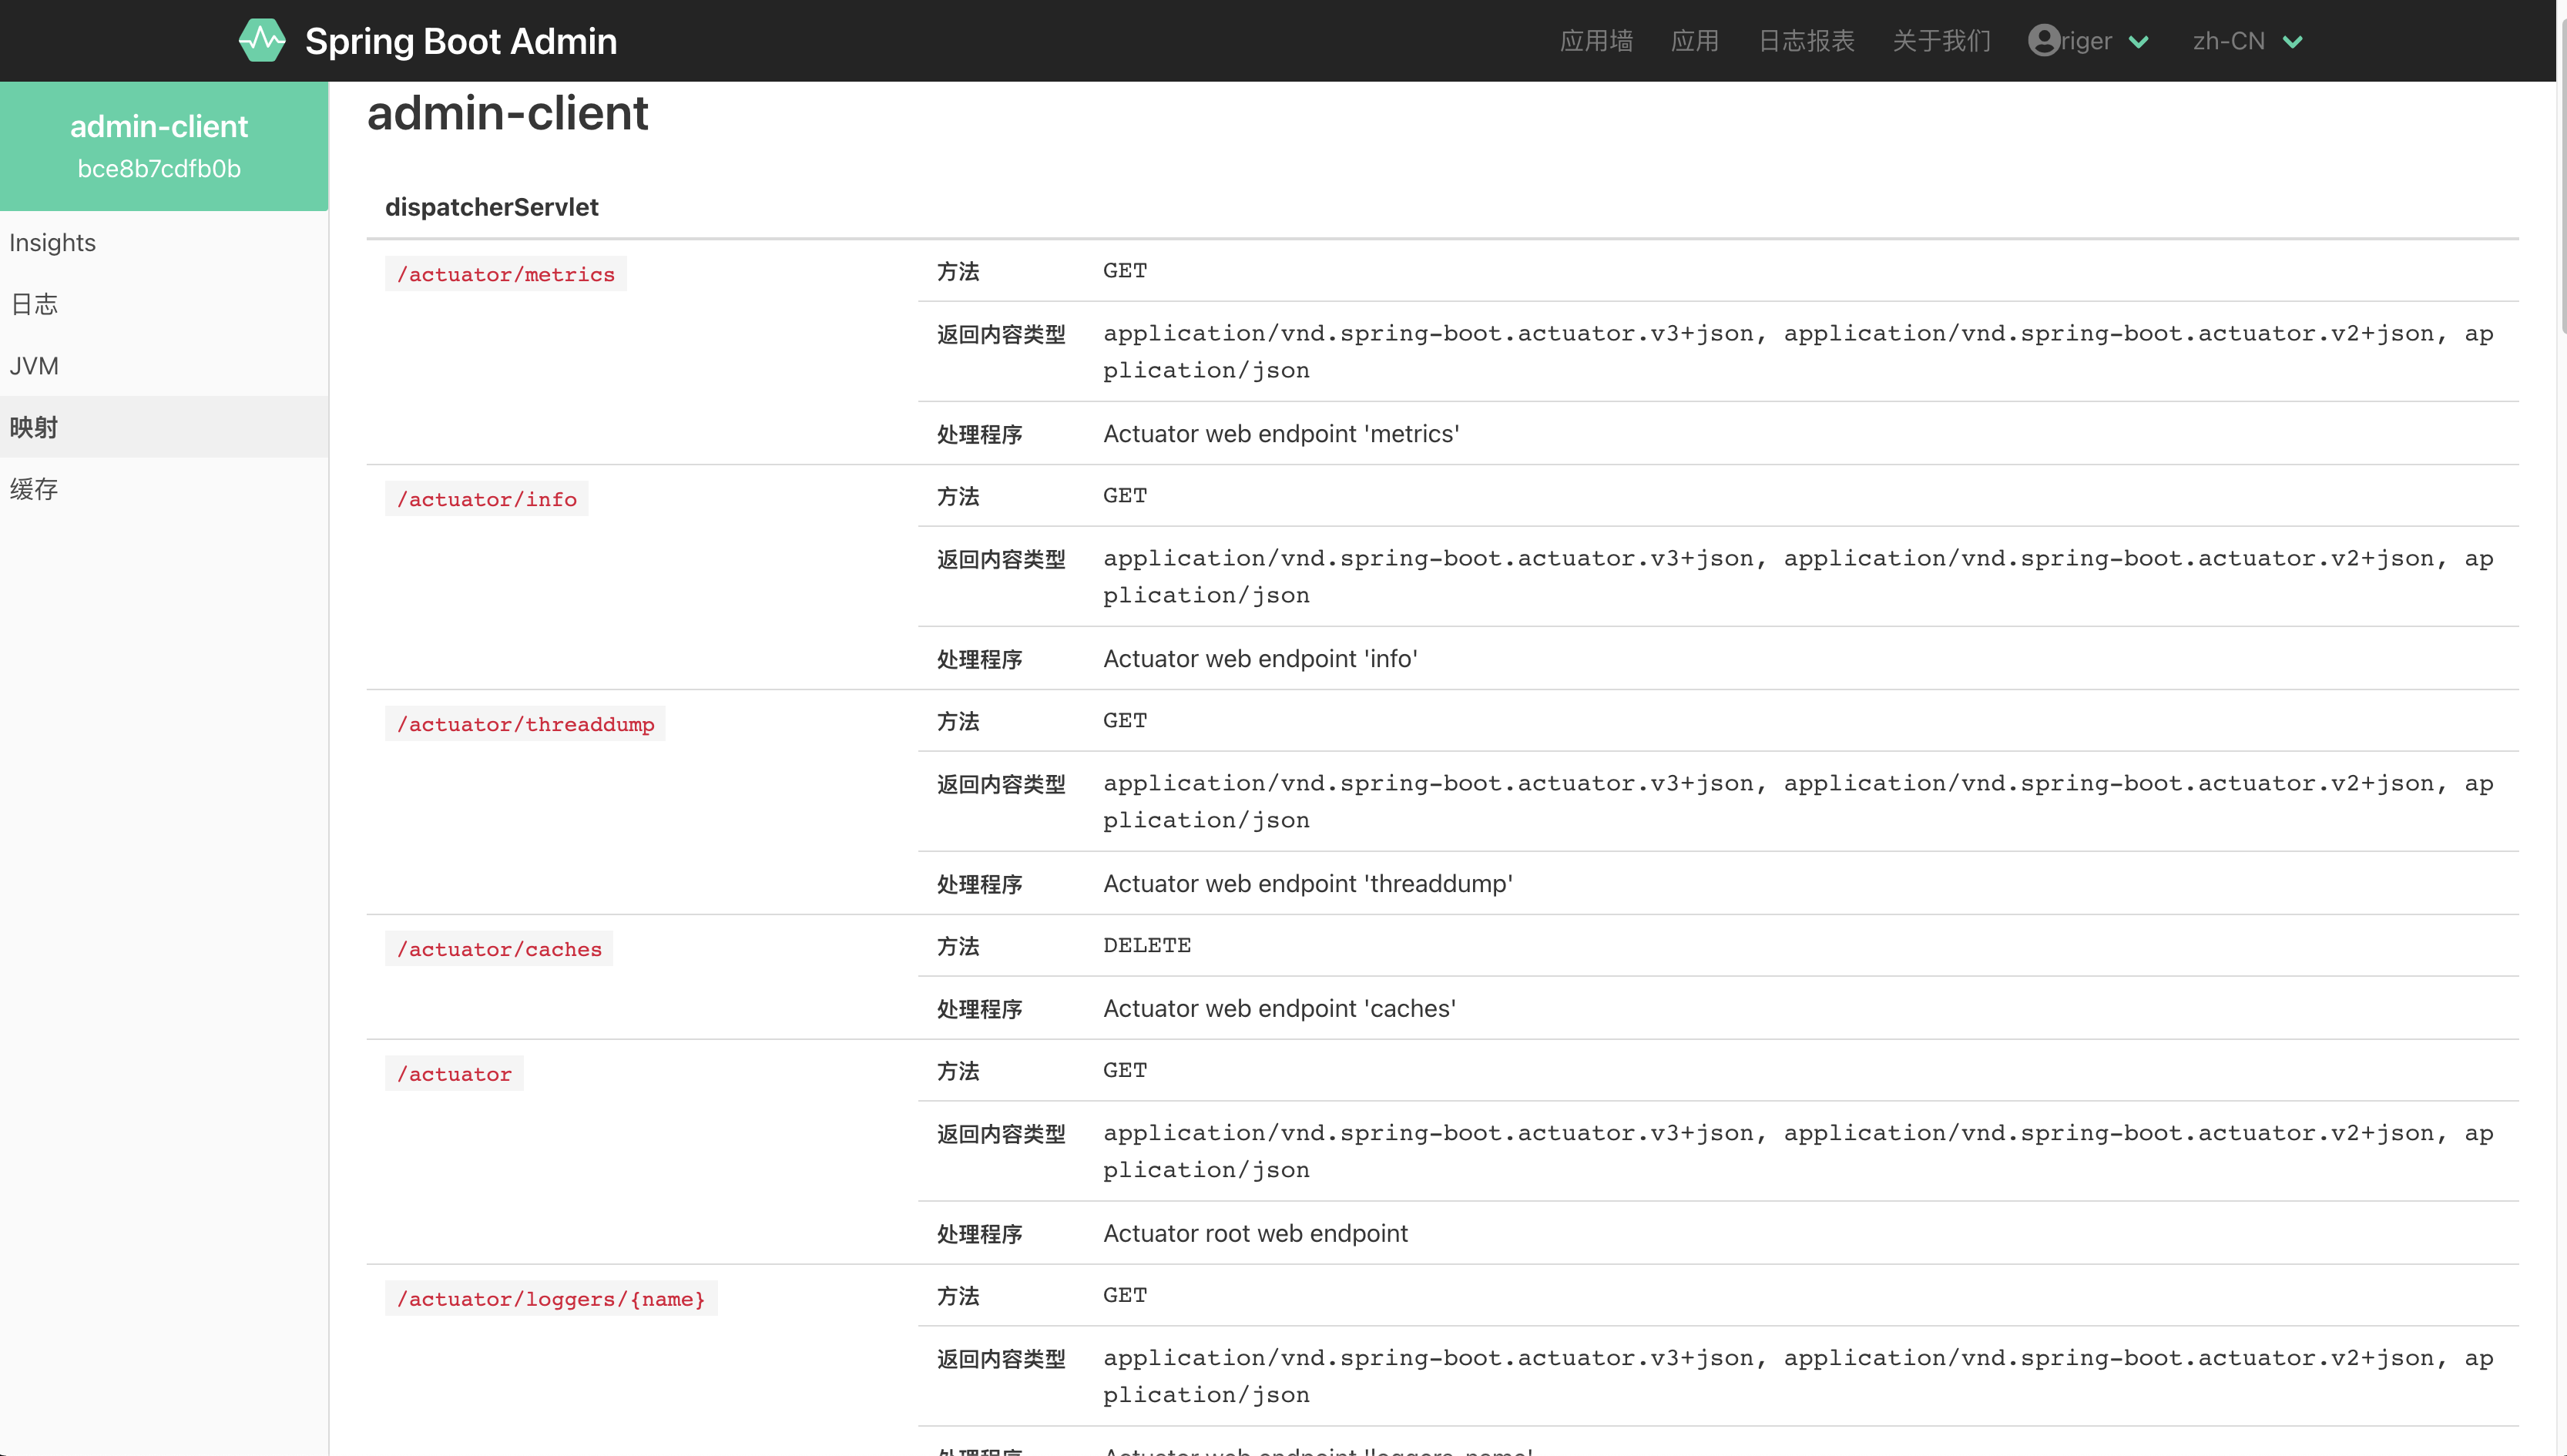
可以看到我们的应用已经注册在 Admin 中,点击可以查看详细信息:
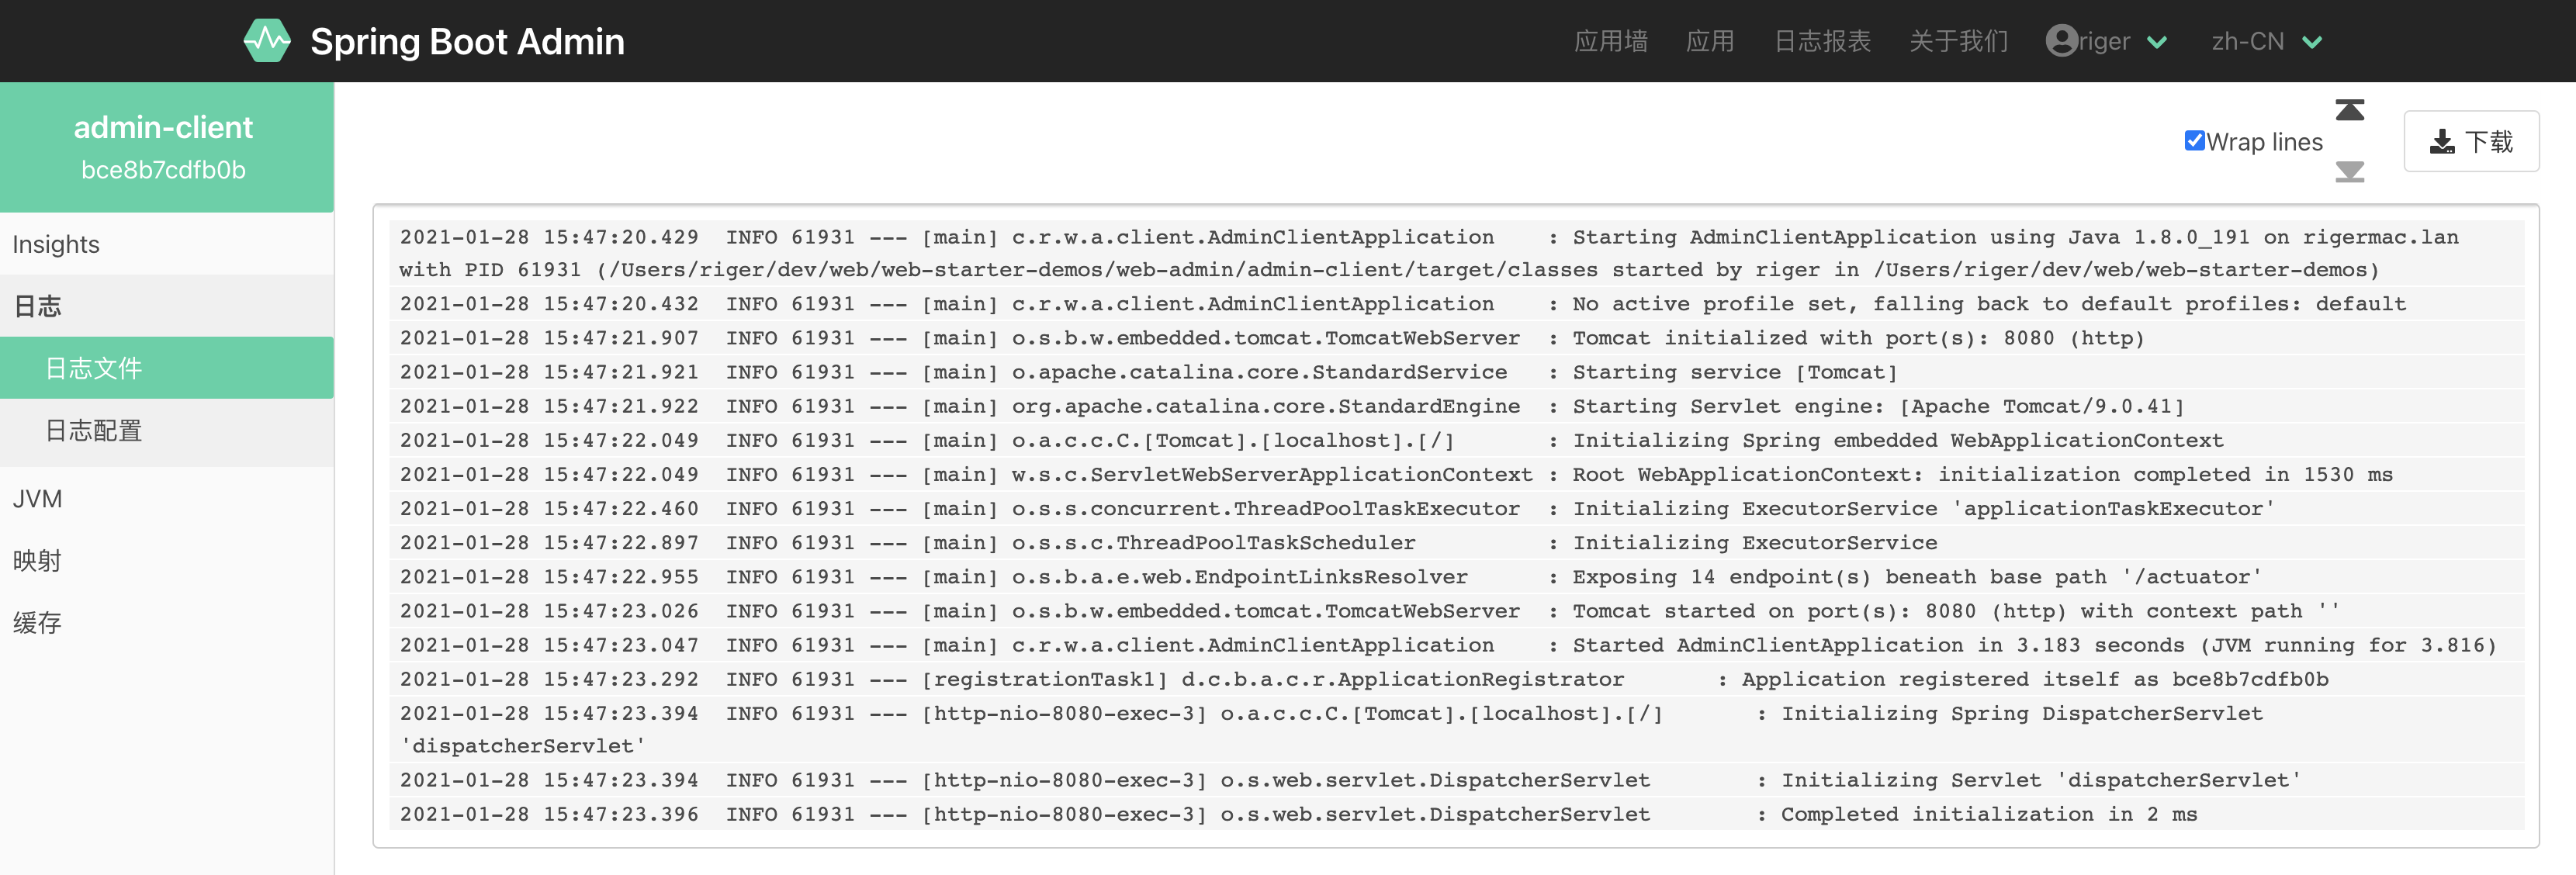
还能直接查看到应用 log,并可以下载 log:
非常强大且方便
4. 邮件告警 这里简单介绍一下邮件告警的配置使用, Server 引入:
<dependency > <groupId > org.springframework.boot</groupId > <artifactId > spring-boot-starter-mail</artifactId > </dependency >
增加邮件配置,可配置多个通知邮箱,用 ,隔开:
1 2 3 4 5 6 7 8 9 10 11 12 13 14 15 16 17 18 19 20 21 22 23 24 25 26 server: port: 8000 spring: security: user: name: riger password: riger mail: host: smtp.qiye.163.com port: 465 username: yourmail@163.com password: password protocol: smtp test-connection: true default-encoding: UTF-8 properties: mail.smtp.auth: true mail.smtp.ssl.enable: true boot: admin: notify: mail: from: yourmail@163.com to: mail1@163.com,mail2@163.com
我们重启 Server,然后关掉我们的 Client 后,收到了邮件:
好了,Spring Boot Admin 就介绍到这,希望有所帮助。
源码及脚本都在Github 上
Enjoy it!
参考资料
